*original post was published 21st August 2017.
Intro
As I mentioned in the original project page this project had some limitations in terms of techniques that I can use. I couldn't use subD, hair, curves rendering, displacement, SSS, particles and I had a limit of 1 million polygons. So, here is a breakdown of the Morning Delight.
Task
Main idea behind the project was to create a photo-realistic render from assets which can later be imported into Unity game engine and rendered with Rove. Chris Morris, creator of Rove, provided me with some reference images and his ideas for the final render. When I saw them, I knew we were on the same page about the look and the mood of the final artwork. From the start of the project I was hyped about it, and I really wanted to give my best, considering the before-mentioned limitations.
Subject
Because of my obsession with vintage cameras I chose Voigtlander Bergheil 10x15cm as my main subject. Modeling process was different than my usual workflow. I couldn't use render time subDs so the raw geometry had to look good. In the end camera model turned out great.
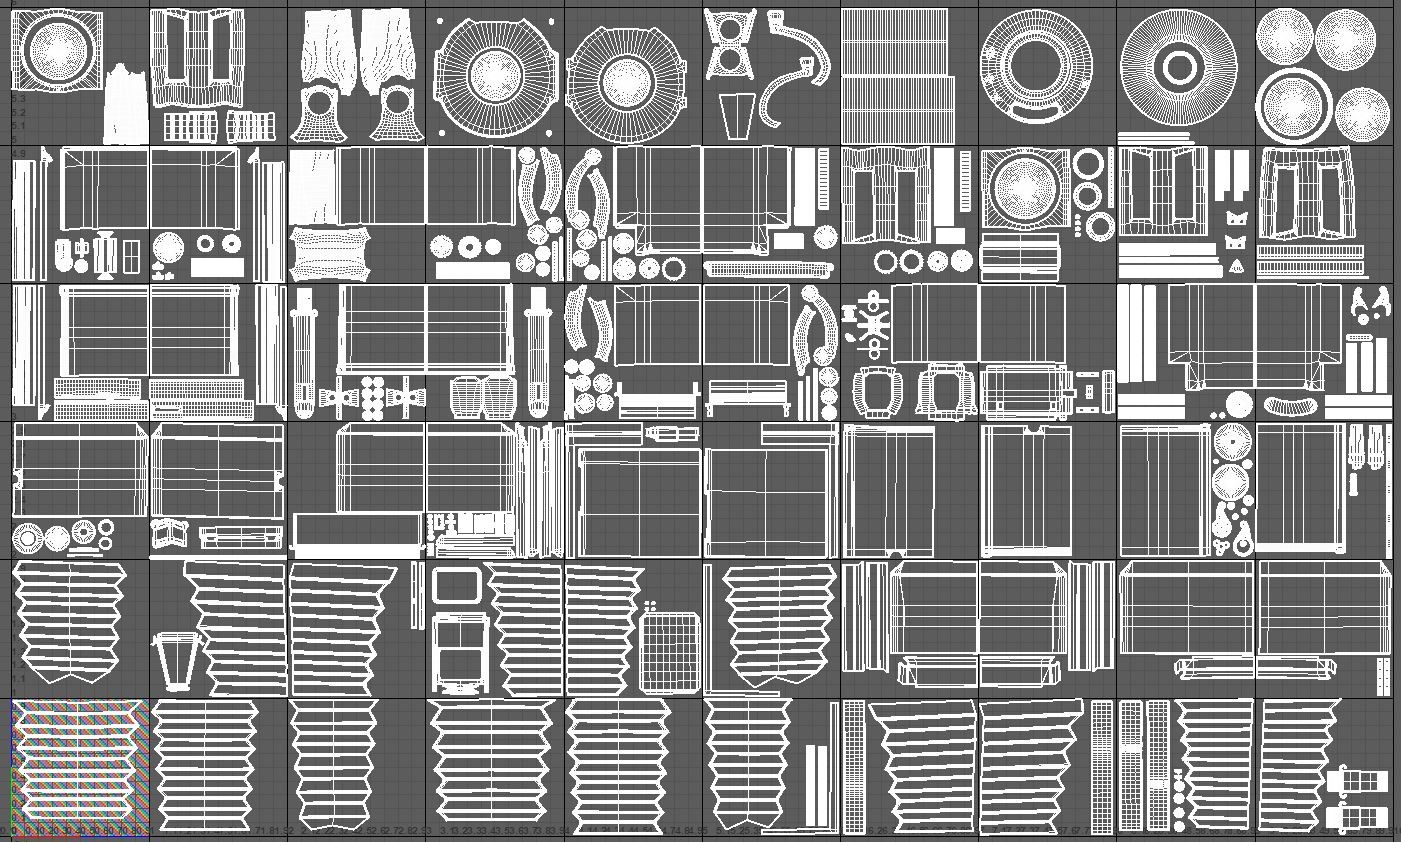
I wanted to create really detailed looking model with high resolution textures. At the time, I still didn't have defined composition for the artwork so I organized UVs so I can render the lens on the closeup shot. The UV tile count went up pretty quickly - 60 udim tiles at 4k resolution.
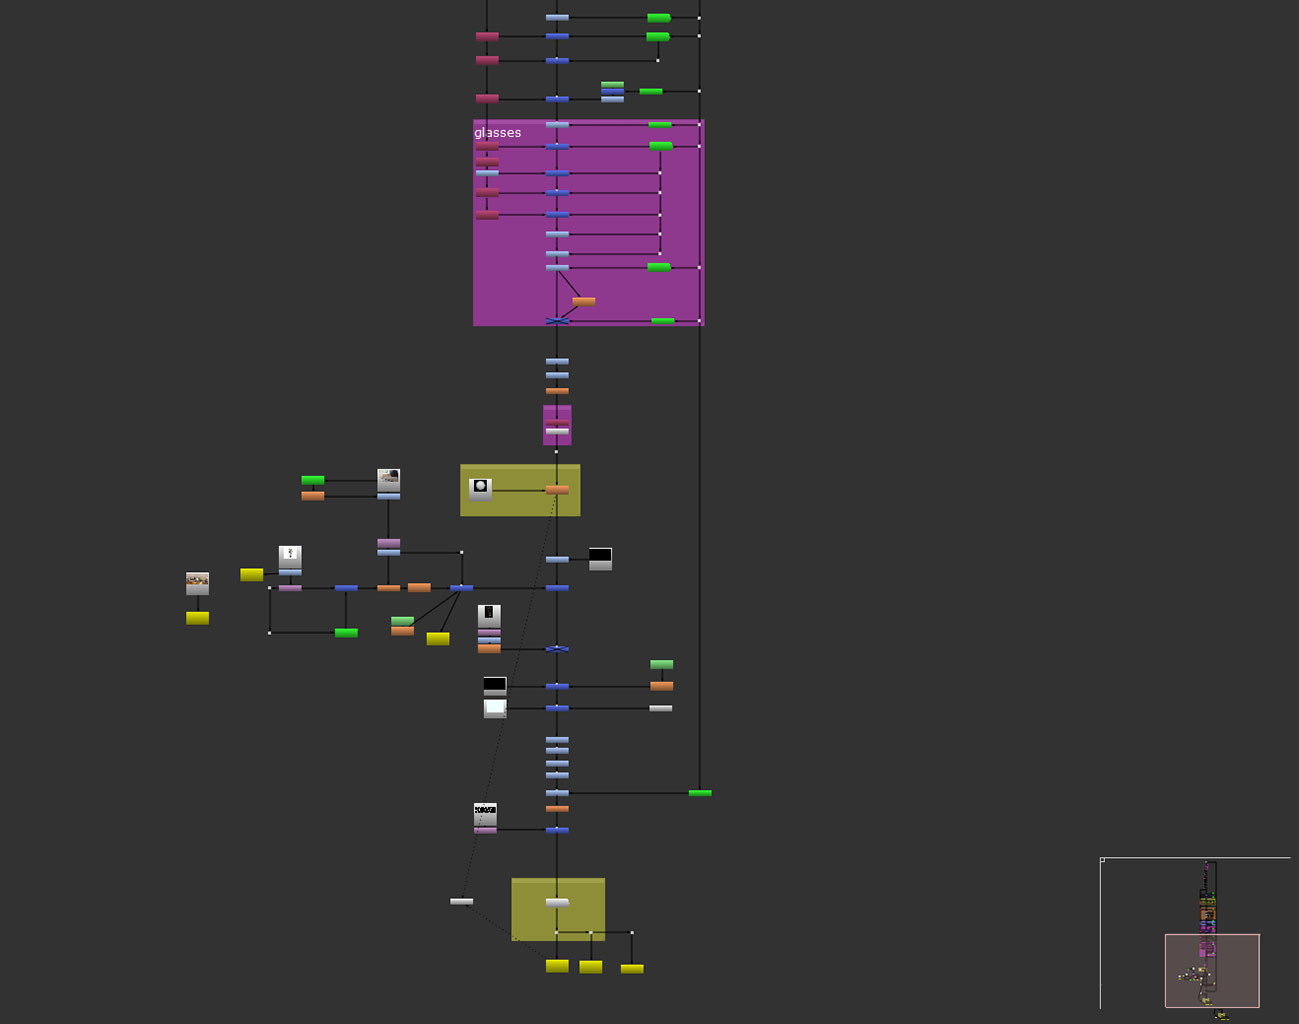
For the texture painting I went with The Foundry Mari, as it is the most powerful texturing tool out there. Also for this project I ditched the layers and went with full node based texturing. Strange at the beginning, but when I got used to it, it was really powerful. I'll never go back to layers. Main thing is to stay really organized, which I failed a little bit here, but I learned a lot. The best thing about the node workflow is that you can create your own gizmos and speed up everything. Really helpful asset during this phase was Mari Extension Pack by Jens Kafitz. Radio Nodes are a must for node based workflow. Those were really a time saver. On other assets I switched to Extension Pack Material Regions which made the organisation of the node graph really easy. Here is the camera node graph:
And some texture previews:
Also full resolution video turntables:
Other assets
Other assets received similar treatment as the hero asset, just on a little smaller scale. Here are more turntables:
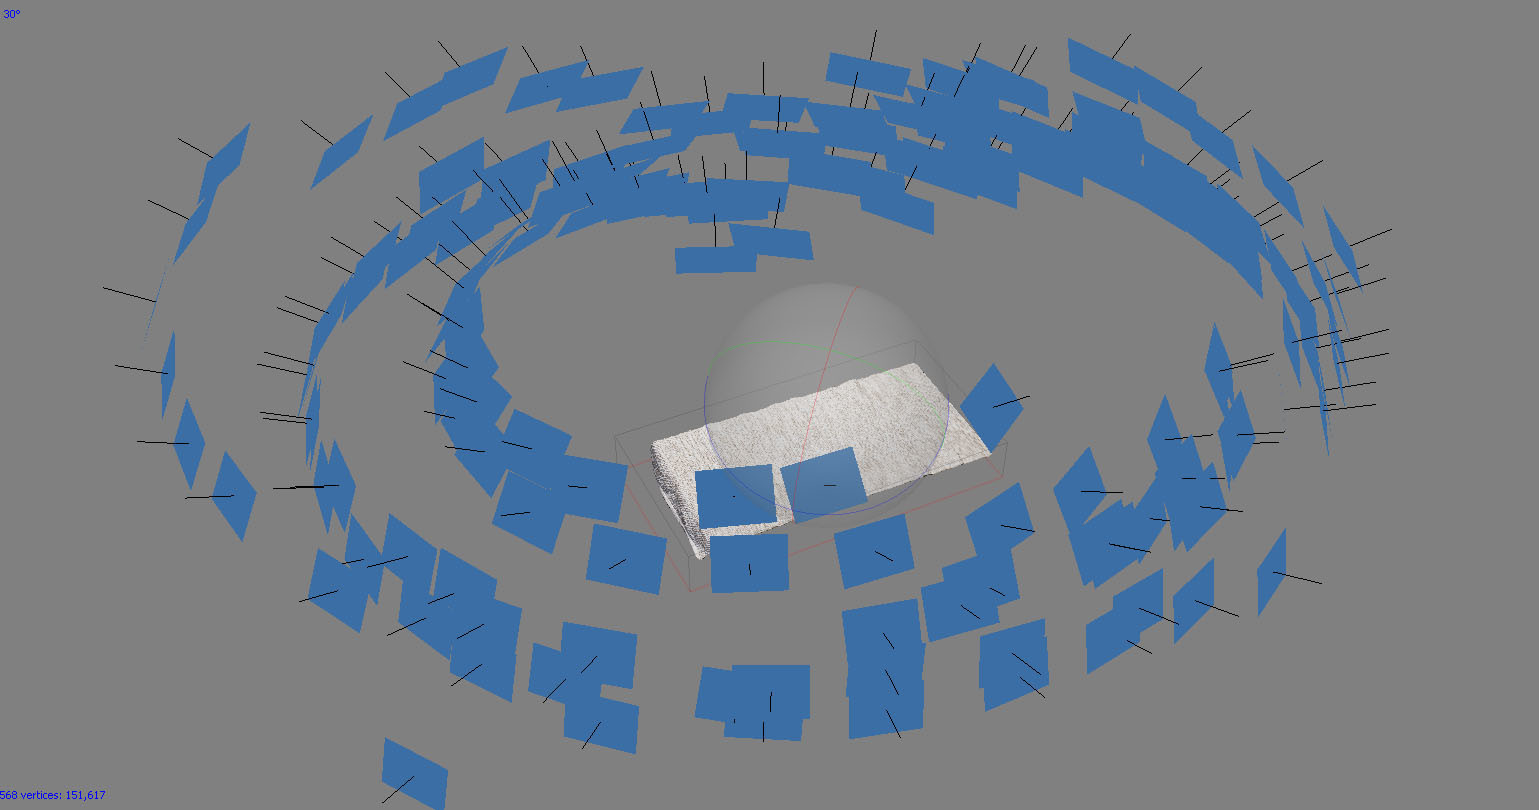
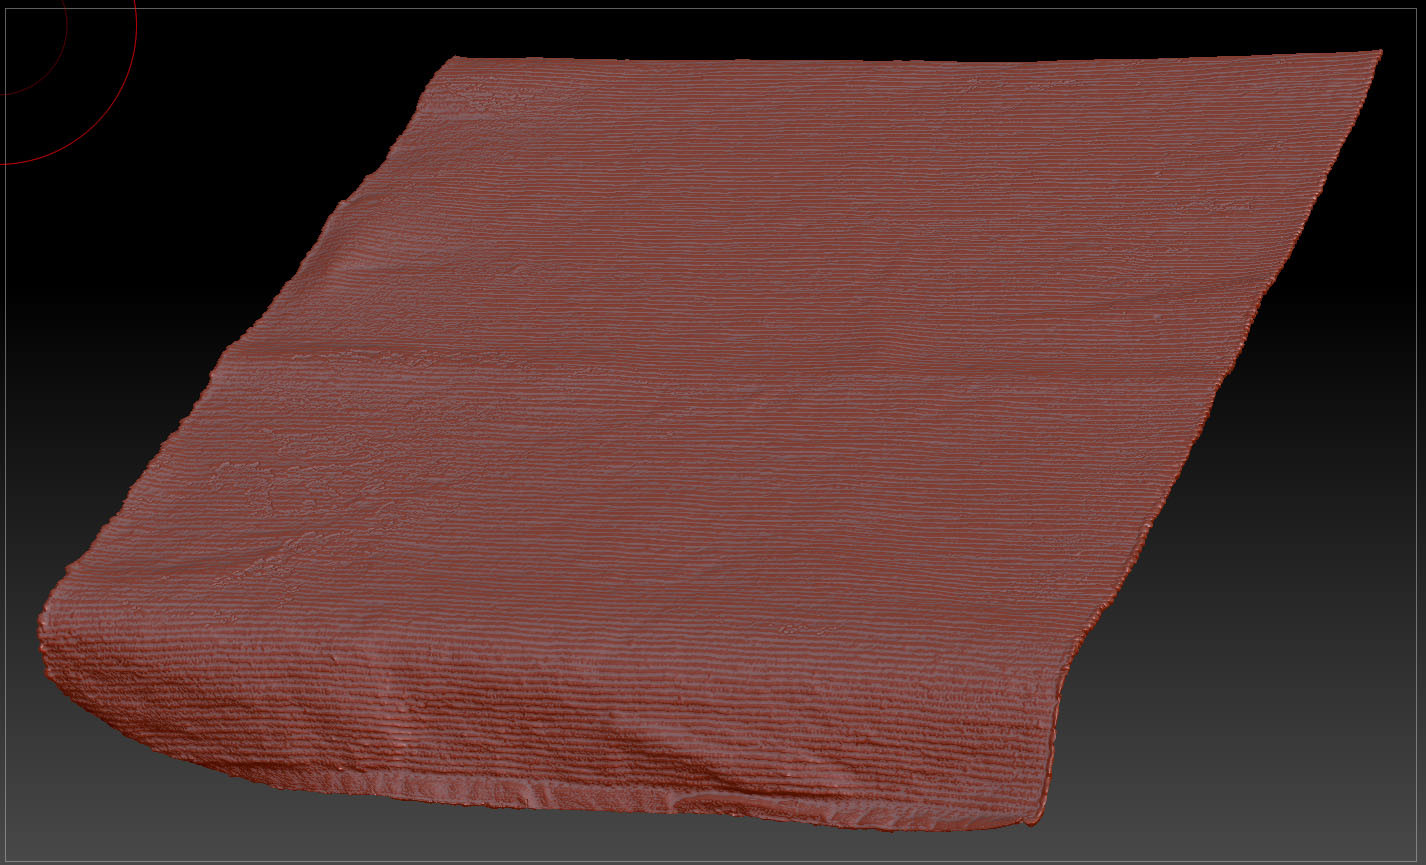
Also I used a bit of photogrammetry for the table cloth, just for the experiment. I wanted to see if Photoscan can pick up all of the small details of the cloth.
Well, it didn't, so I had to cleanup the mesh and sculpt the new details in Zbrush
Rendering and post production
As always, I went with Solidangle Arnold for rendering. Version 5 brought revamped shaders, new utility nodes and more useful stuff (most of it from alShaders). Everything is faster and works great, I just didn't like new SSS parameters, they are not that intuitive, alShaders had much better SSS. In this project I couldn't use SSS, I just had to mention it. Also, Psyop Cryptomatte is integrated into Arnold and it is really great. One click IDs with literally no setup. Here are some AOVs:
Post production was done in Nuke. I decided to move away from After Effects for these purposes, it is slow and sluggish compared to Nuke. Some Nuke script screenshots:
And that's about it. I had a great time while working on the project and I'm pleased with the final render.