Philosophy of Photography

General / 27 July 2018

*original post was published 25th October 2017.


Couple of years ago Sam Burford from Chelsea College of Arts contacted me and asked if he can use Coffee Table for his academic journal. I said yes, and eventually forgot about it. Few days ago I received a package containing a copy of Philosophy of Photography, featuring images of Coffee Table. Thanks to Sam Burford for this amazing surprise! Here are some images of this great academic journal:


Morning Delight - breakdown

Making Of / 27 July 2018

*original post was published 21st August 2017.


Intro

As I mentioned in the original project page this project had some limitations in terms of techniques that I can use. I couldn't use subD, hair, curves rendering, displacement, SSS, particles and I had a limit of 1 million polygons. So, here is a breakdown of the Morning Delight.


Task

Main idea behind the project was to create a photo-realistic render from assets which can later be imported into Unity game engine and rendered with Rove. Chris Morris, creator of Rove, provided me with some reference images and his ideas for the final render. When I saw them, I knew  we were on the same page about the look and the mood of the final artwork. From the start of the project I was hyped about it, and I really wanted to give my best, considering the before-mentioned limitations.


Subject

Because of my obsession with vintage cameras I chose Voigtlander Bergheil 10x15cm as my main subject.  Modeling process was different than my usual workflow. I couldn't use render time subDs so the raw geometry had to look good. In the end camera model turned out great.


I wanted to create really detailed looking model with high resolution textures. At the time, I still didn't have defined composition for the artwork so I organized UVs so I can render the lens on the closeup shot. The UV tile count went up pretty quickly - 60 udim tiles at 4k resolution.


For the texture painting I went with The Foundry Mari, as it is the most powerful texturing tool out there. Also for this project I ditched the layers and went with full node based texturing. Strange at the beginning, but when I got used to it, it was really powerful. I'll never go back to layers. Main thing is to stay really organized, which I failed a little bit here, but I learned a lot. The best thing about the node workflow is that you can create your own gizmos and speed up everything. Really helpful asset during this phase was Mari Extension Pack by Jens Kafitz. Radio Nodes are a must for node based workflow. Those were really a time saver. On other assets I switched to Extension Pack Material Regions which made the organisation of the node graph really easy. Here is the camera node graph:


And some texture previews:


Also full resolution video turntables:


Other assets

Other assets received similar treatment as the hero asset, just on a little smaller scale. Here are more turntables:


Also I used a bit of photogrammetry for the table cloth, just for the experiment. I wanted to see if Photoscan can pick up all of the small details of the cloth.


Well, it didn't, so I had to cleanup the mesh and sculpt the new details in Zbrush


Rendering and post production

As always, I went with Solidangle Arnold for rendering. Version 5 brought revamped shaders, new utility nodes and more useful stuff (most of it from alShaders). Everything is faster and works great, I just didn't like new SSS parameters, they are not that intuitive, alShaders had much better SSS. In this project I couldn't use SSS, I just had to mention it. Also, Psyop Cryptomatte is integrated into Arnold and it is really great. One click IDs with literally no setup. Here are some AOVs:


Post production was done in Nuke. I decided to move away from After Effects for these purposes, it is slow and sluggish compared to Nuke. Some Nuke script screenshots:


And that's about it. I had a great time while working on the project and I'm pleased with the final render.


Developing first film

General / 27 July 2018

*original post was published 14th January 2017.


Couple of days ago I have received a TLR (twin lens reflex) camera as a gift from my girlfriend. She bought me an old Mamiyaflex C2, made somewhere around 1960. It’s a fully mechanical camera made like a Swiss watch - no batteries or any digital parts.

Due to its old age and mechanical nature, the only way to test it is to shoot some film. I took a roll of 120 Ilford HP5+ 400 and used the lunch break at work to take some photos. But, because of the holidays, the only place that can develop B&W film was closed. Then I have decided to develop the film myself. Although I have never developed any film, there are a lot of guides on the internet, so I wrote down all the stuff needed for the process. I borrowed a Paterson tank from my friend Marina, bought all the chemicals I needed for the process and here are the results:


I was amazed by the results. Mamiyaflex lenses are probably the sharpest set of lenses I’ve ever tried (I have 3 analog cameras and at least 10 lenses and also a dslr) and the entire development process is really interesting. It adds a whole new level of fun to photography. I recommend anyone to try it.

Here is some technical info about the process:

Prewash: 1-2mins, distilled water

Developer: Kodak D76, dilution 1+1, 12mins, agitation first 10s every 60s

Stop bath: just a 3 full rinses with tap water, around 60-90s

Fixer: Fomafix, dilution 1+5 for 5mins, agitation for first 10s, every 60s

Wash: distilled water + a drop of “Taš”, local detergent for dishes

This blog post is not a tutorial or anything similar, I was so mind-blown by the whole process and a new camera that I decided to share my thoughts.

Now, back to CG :)


Single rgb texture for multiple Mari channels

Tutorial / 27 July 2018

*original post was published 15th December 2016.

Hi everyone, this is my first tutorial on the blog.

I’m going to describe a technique that reduces number of texture files used on your asset by almost 3 times. On multiple occasions, I saw game artists store different information in R,G and B channels of a texture map, and in that way reduce the number of textures in engine. For example, store bump into Red channel, specular into Green channel and AO into Blue channel.

I wanted to replicate this technique in Mari, without a need to manually add channels in Photoshop, because when you have a large number of tiles, that can be a tedious work. After a couple of tests and some search on forums, I couldn’t make it to work, so I asked Jens Kafitz, lookdev/texture Artist and creator of the great Mari Extension Pack. After a couple of emails, he described me a way how to make Mari write different information into different channels. Because there is little to none information about this online (or I couldn’t find it), I decided to describe this technique and share it with everyone.

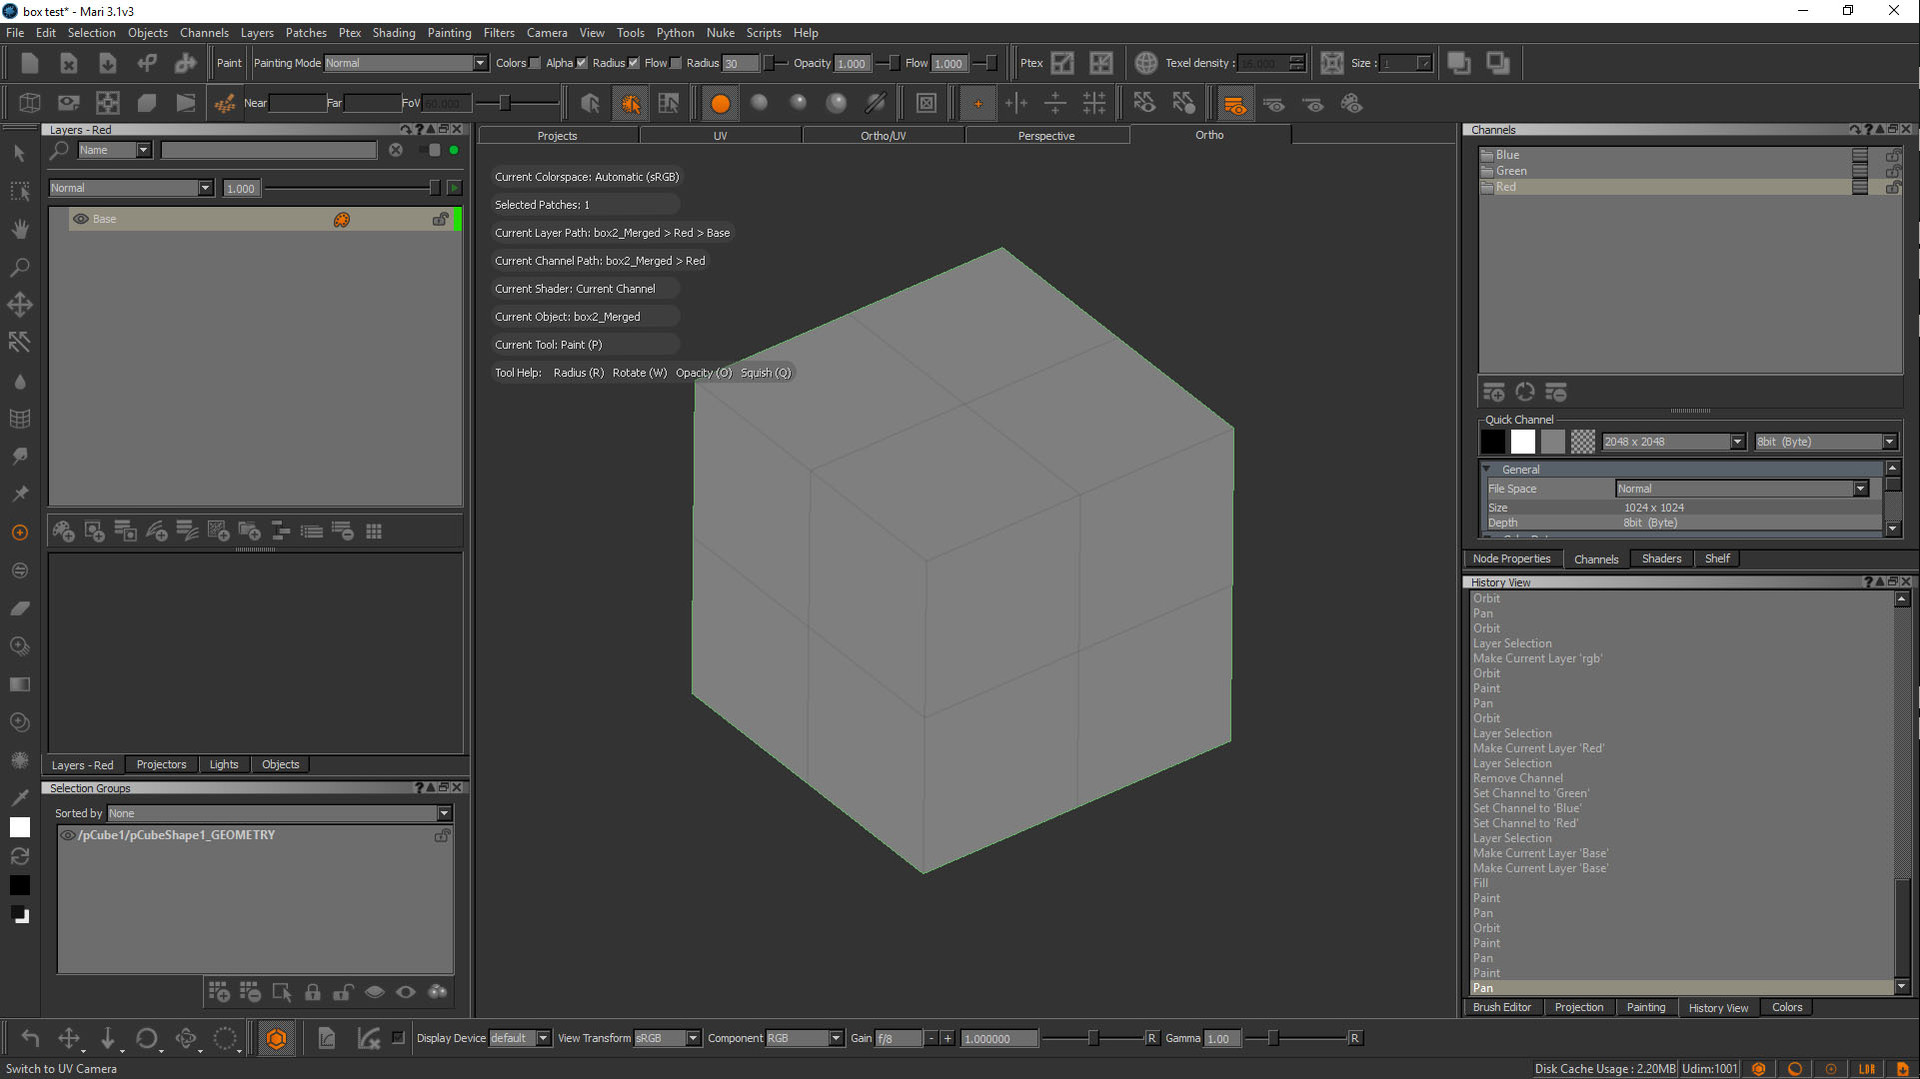
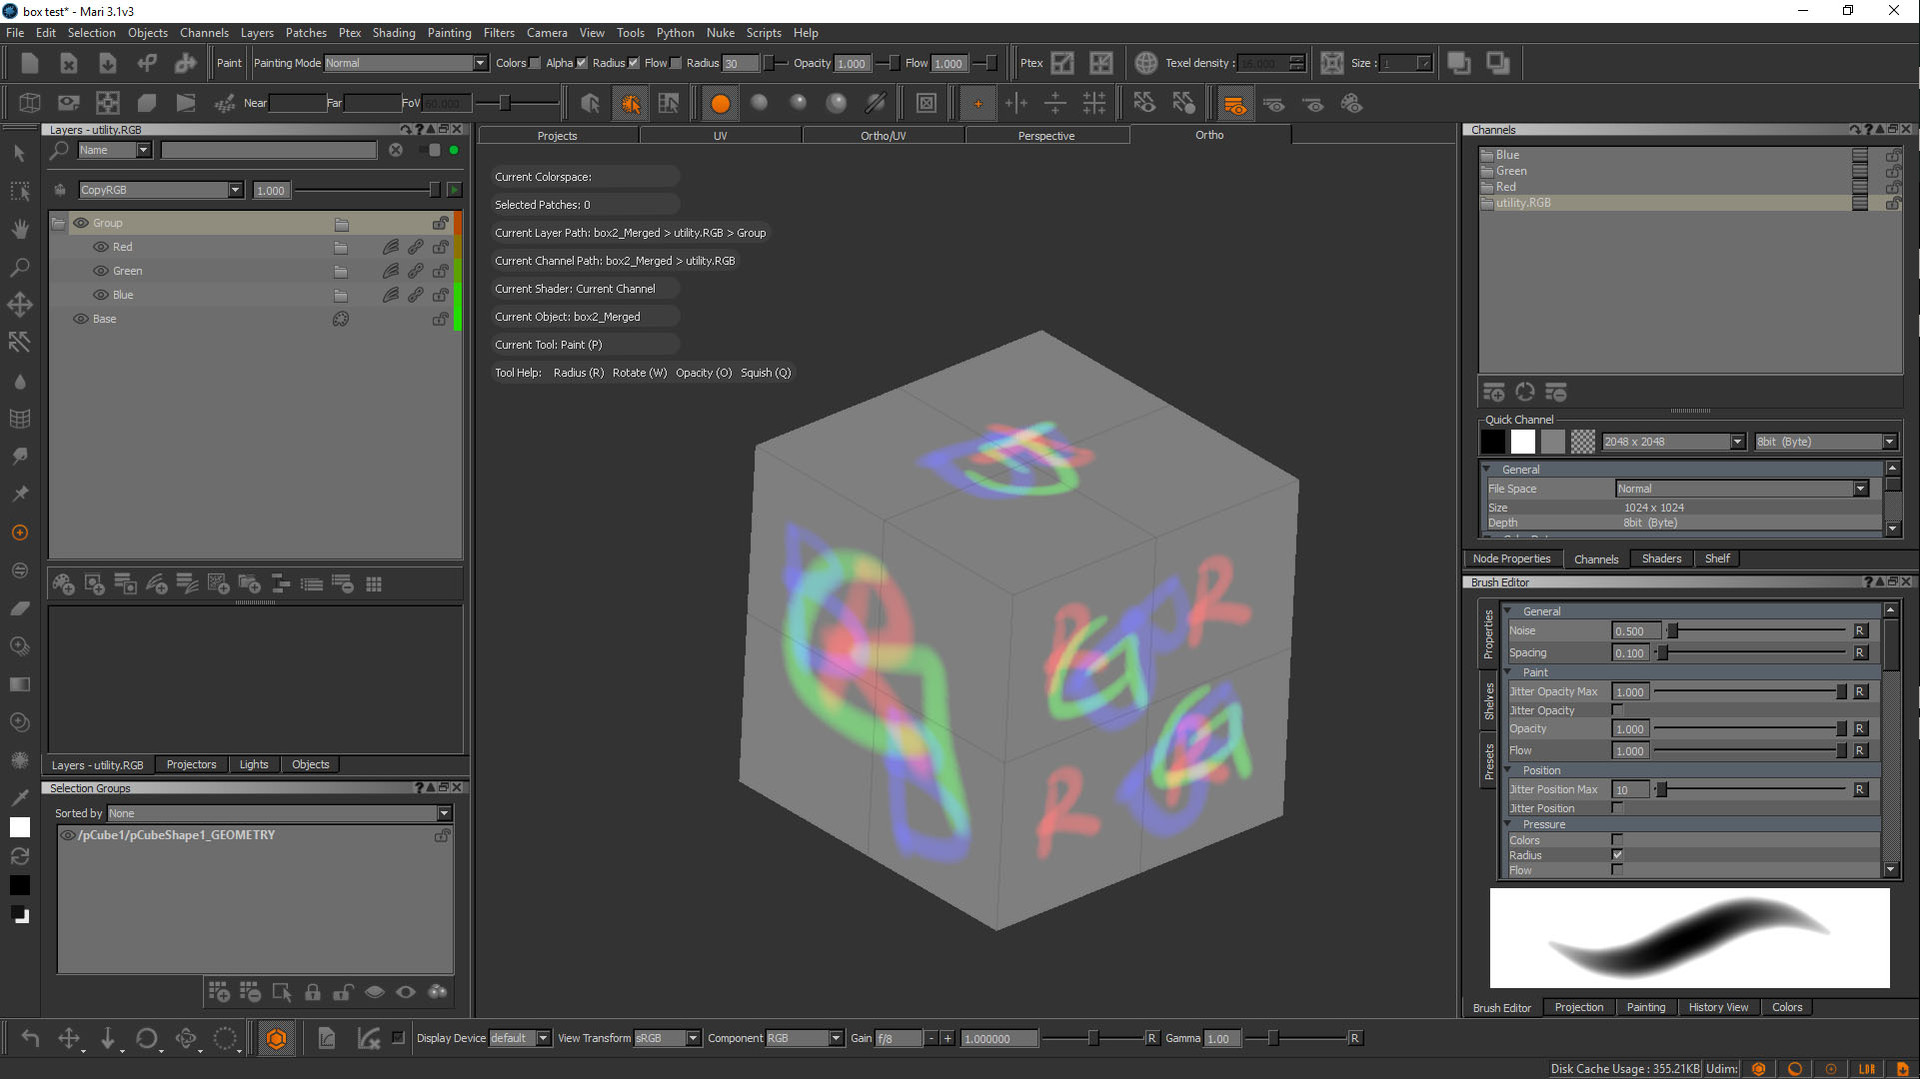
First, I’m going to show this method on a simple box, as it will be easier to explain. I’ll start by creating a new project, and basic channels - Red, Green and Blue - which will serve for testing purposes.

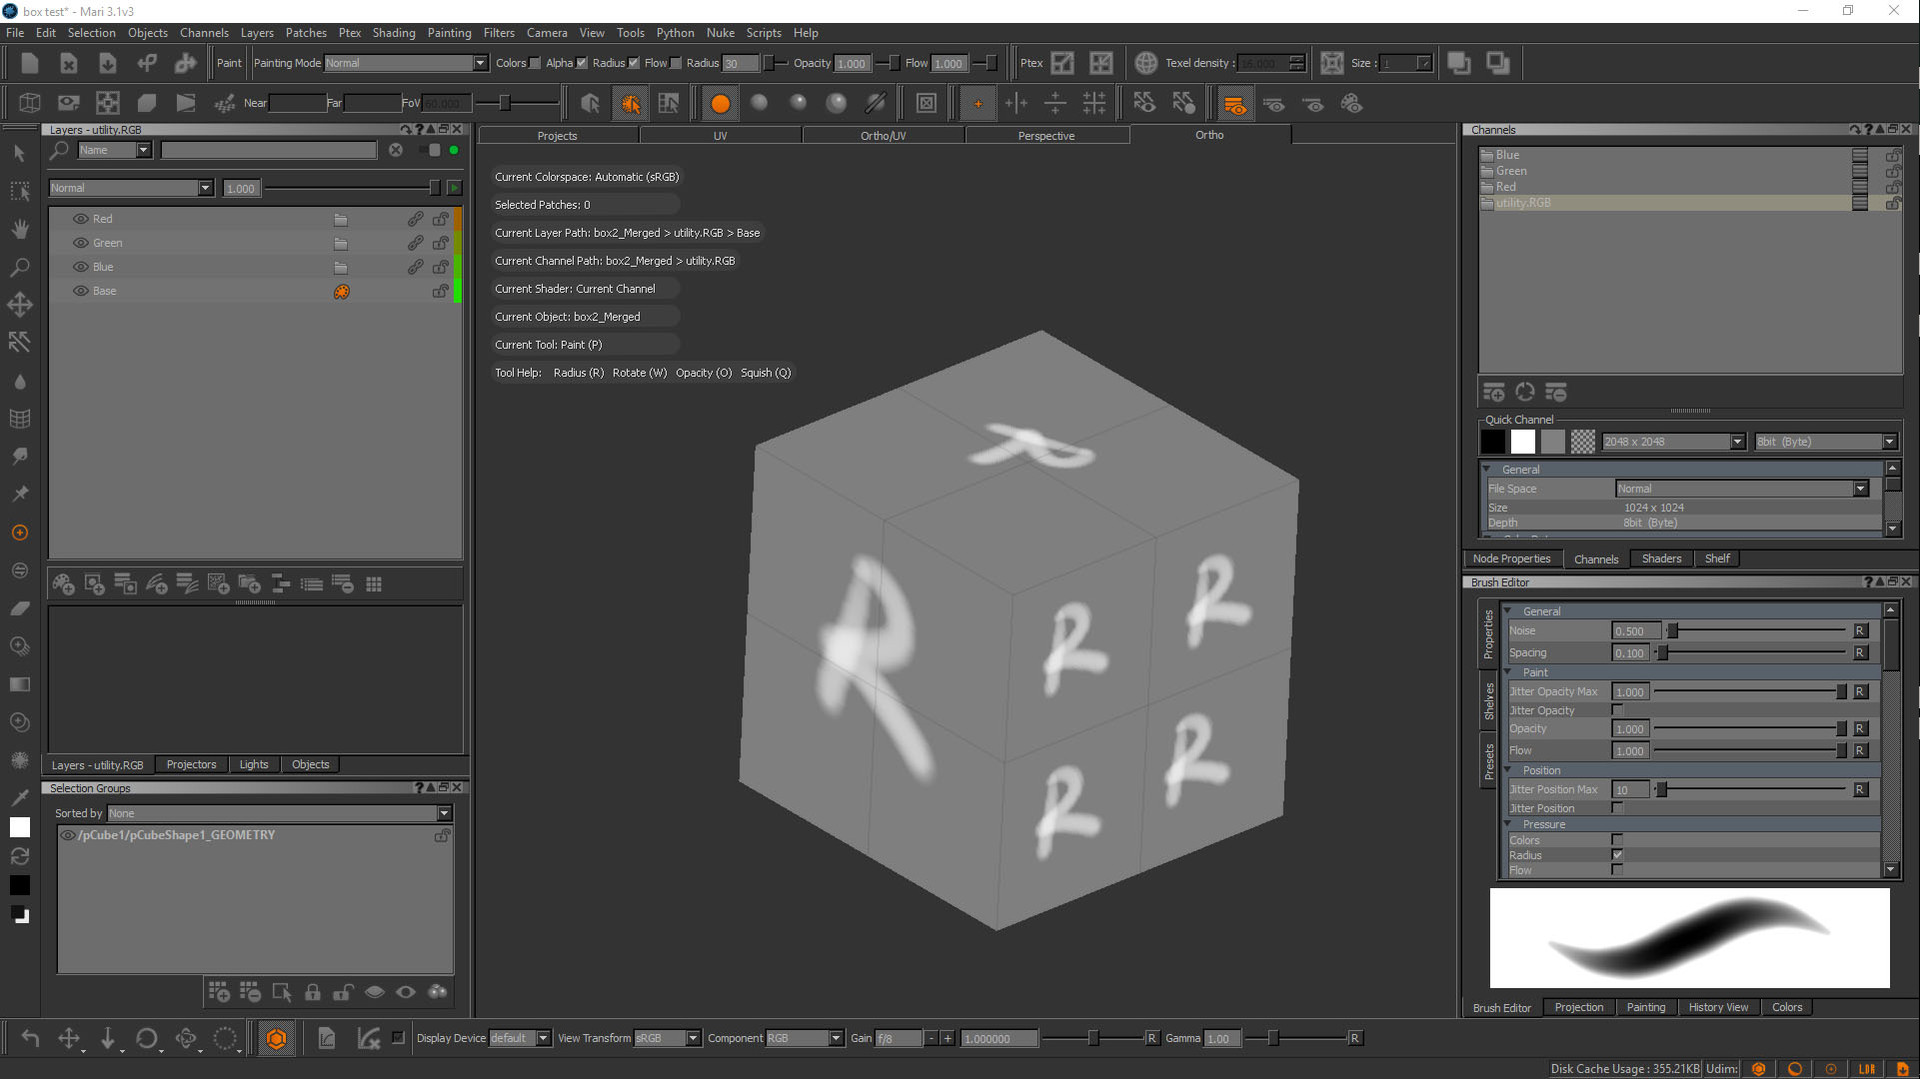
After that, I painted R, G and B letters in Red, Green and Blue channels respectively, just so we can see the difference in information written in the channels.

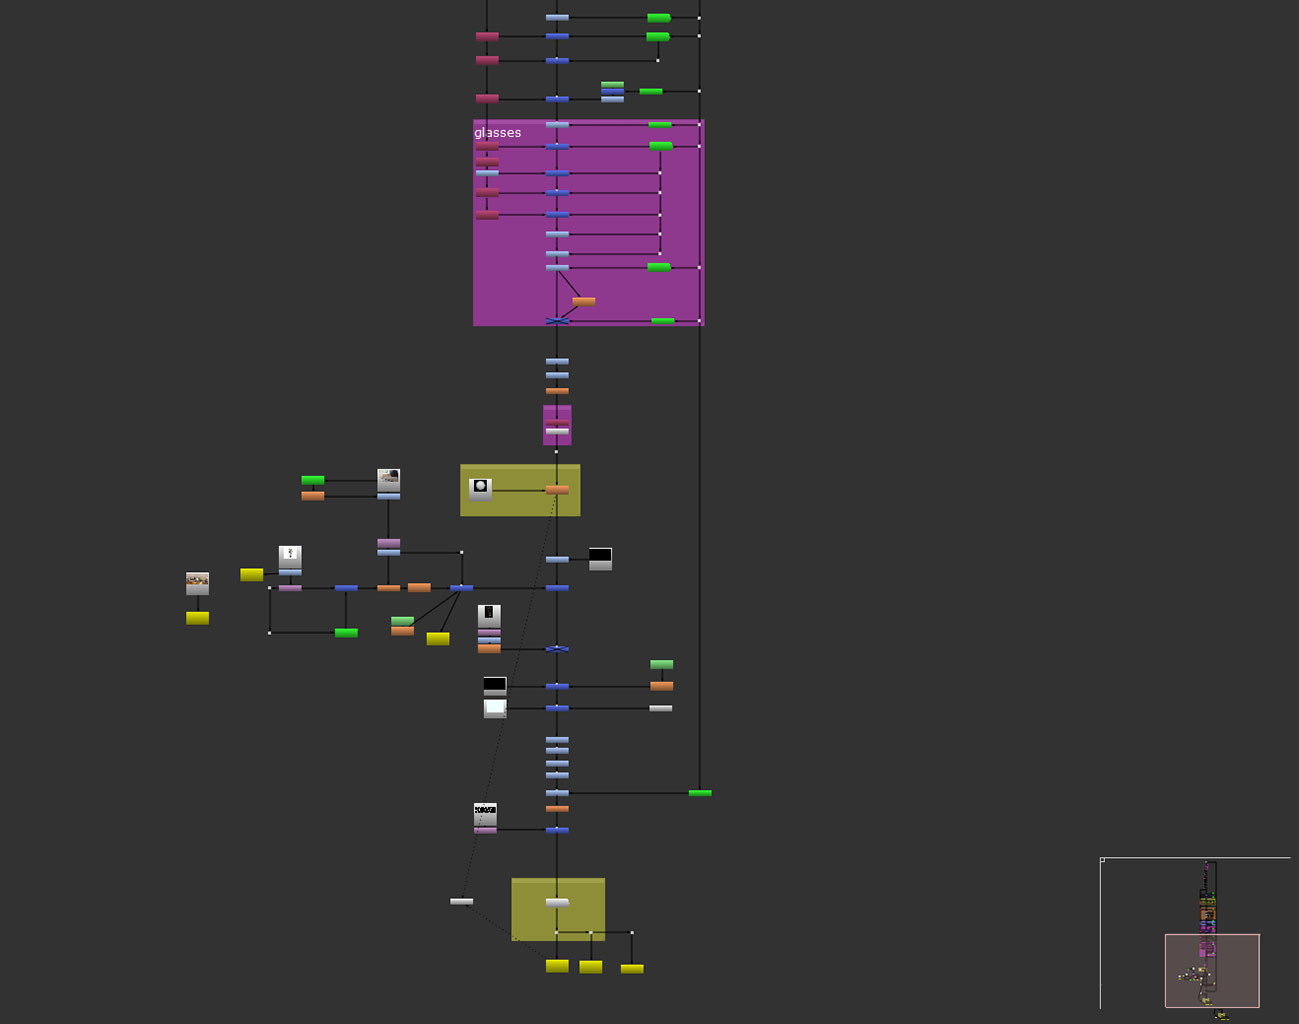
Next, I created a new channel called utility.RGB, in which we will store our R,G and B channel information. Add Red, Green and Blue channels as layers to the new utility.RGB channel using right click > Add Channel Layer. After that you will have something like this:

Add a color switch adjustment stack in each layer and set the color switch adjustment as following: for Red layer turn off everything except Red, for Green layer turn off everything except Green, and for Blue layer turn off everything except Blue.

Now, select each of our layers (Red, Green and Blue) and set them to Add blend mode. After this step you will get colorful representation of your channel information. Group Red, Green and Blue layers and set the new group to the CopyRGB blend mode. In the end you will have something like this:

After that, you can export your texture. If everything is ok, you should have different information in each channel of the texture. You can import it in Photoshop and check the channels. I created a short video about the entire process, so feel free to watch it. :)

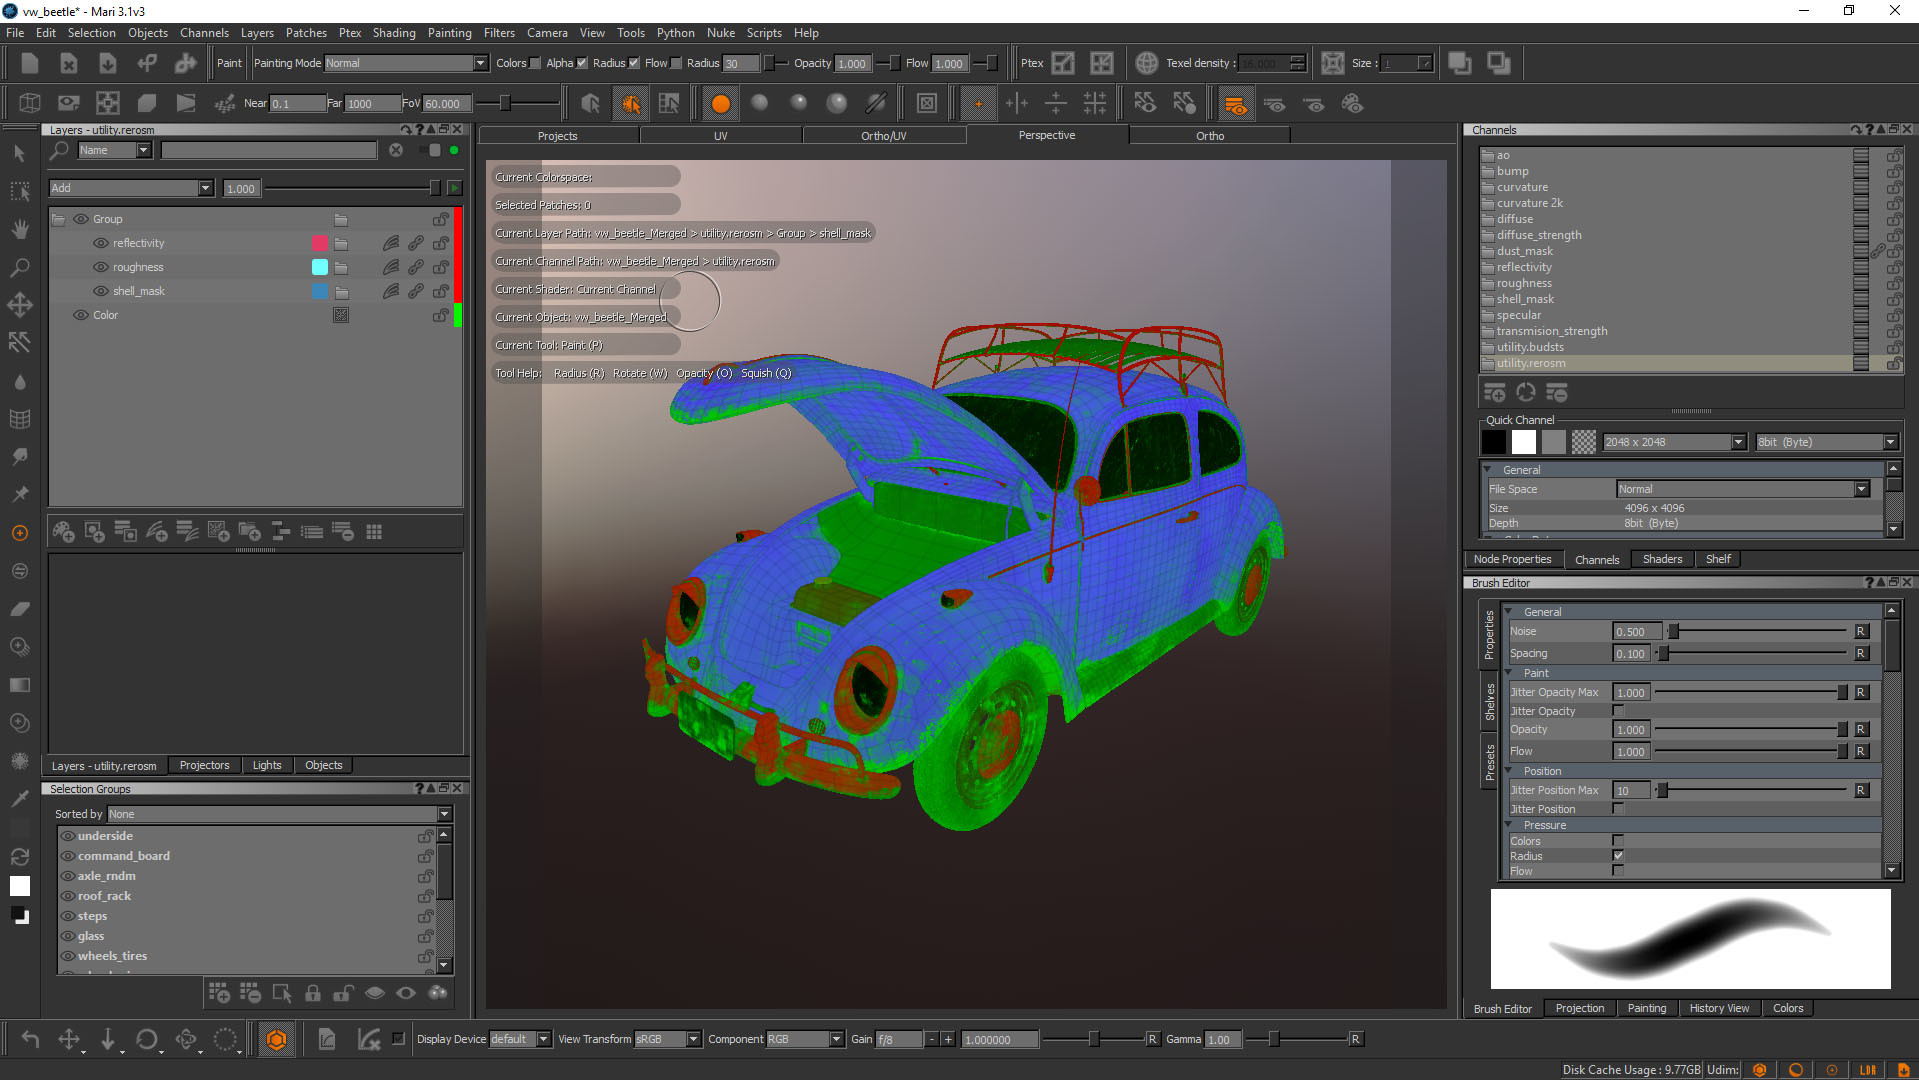
Using the same technique you can write different information into different channels. For example, I’ve used this technique when I did a car for my artwork Long Exposure. I created two channels called utility.budsts (R - bump, G - diffuse strength, B - transmission strength) and utility.rerosm (R - reflectivity, G - spec roughness, B - shell mask). With these two channels I covered six shader slots. If I were to use each channel on a separate texture file I would have to have six different textures, and now I have only two. It doesn’t sounds as much, but I had 115 UV tiles for the entire car, each 4k. That is a lot of saved disk space, ram for rendering, time for export and .tx conversion (I use Arnold for rendering). When you add a diffuse channel into account, you would end up with 920 texture files. With this technique I reduced the number to 345 files.

That's all for this blog post. I hope I helped someone with this technique. Also, I wish to thank Jens Kafitz for helping me with this matter. Again, check his website and Mari Extension pack, it’s a great set of new tools, nodes, procedurals, etc.

This is the first time I wrote a tutorial by myself and if you have any comments or suggestions on how to improve the content, let me know through the comments or contact section. If you like this type of content Subscribe to my blog.

Thank you.


Website transfer

General / 27 July 2018

In the coming days or weeks I plan to transfer content from my website to the Artstation. I decided to use Artstation as my main website. After I transfer my domain dusankovic.com from Small Orange to Artstation I will delete old website. Web address should stay the same, and my portfolio, blog and other info will be on the same place, which I find pretty convenient.

Also, I won't spam you with this content transfer, I will check "Don't broadcast" option, so there will be no notifications. I just want to keep the old content once I delete the old website. 

If anyone is interested in content from my website, you will be able to access my website for a few days, if not less. After that, everything will be here on Artstation blog.

Cheers!