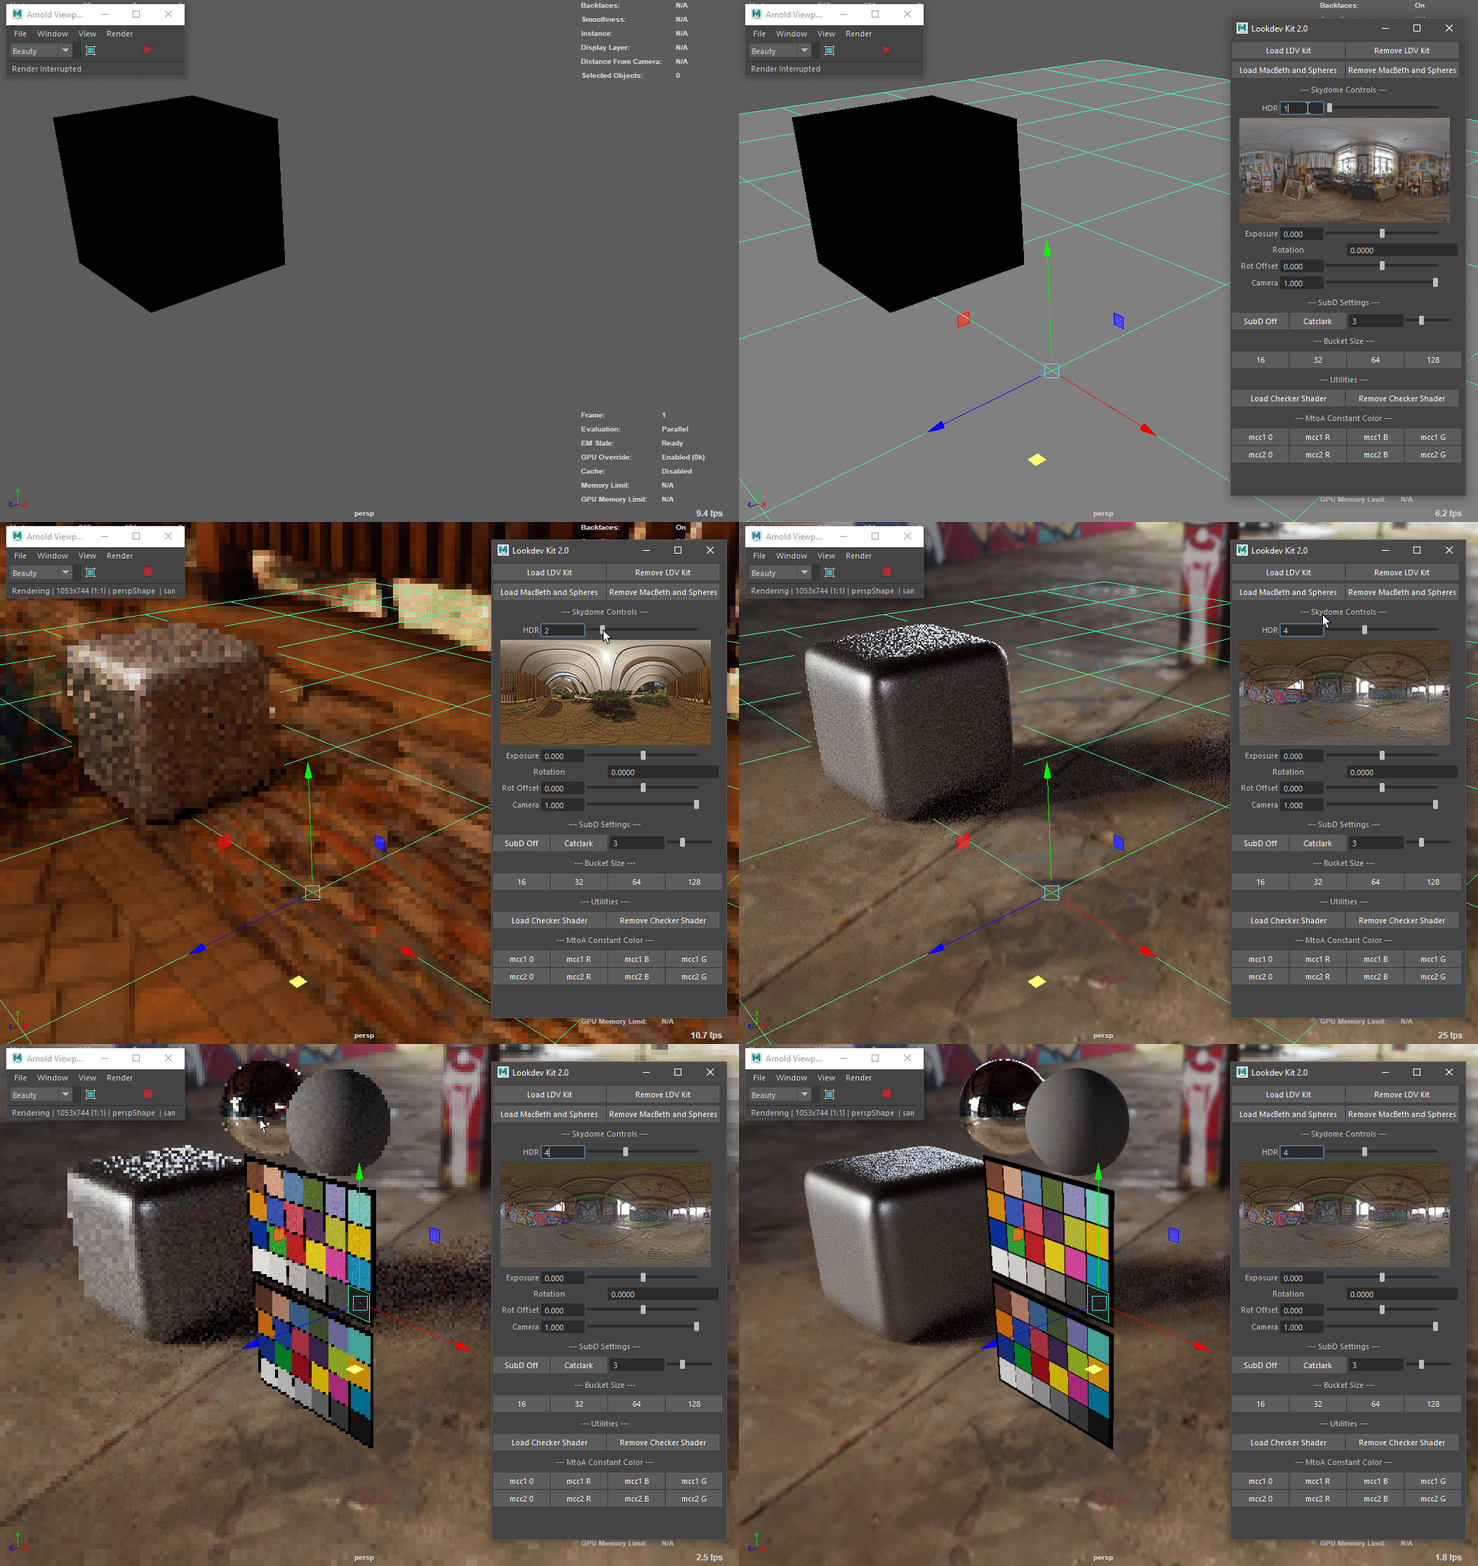
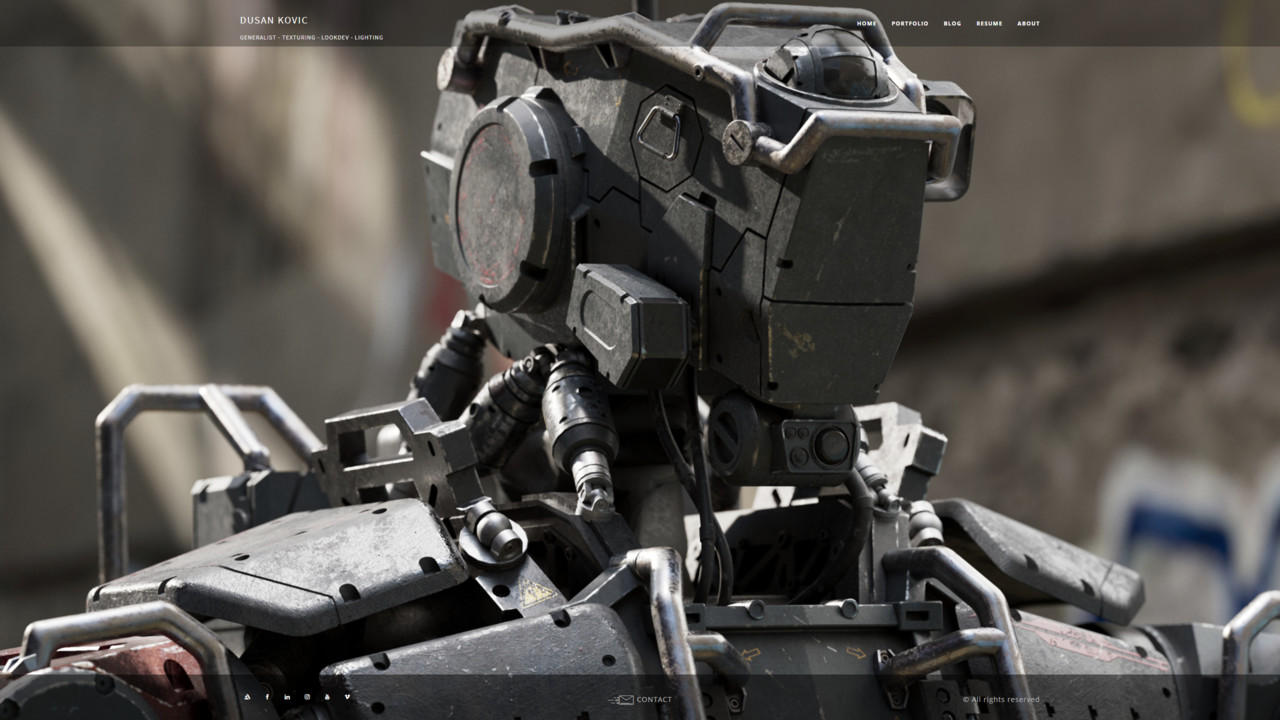
Arnold GPU beta

News / 18 March 2019

So, Arnold GPU is finally going in public beta. I had a great opportunity be a part of closed beta testing. You can find more information about Arnold GPU HERE. It is going public on March 20, 2019. 

Now, here are some test renders I did during closed beta.


Camera test scene


Ivana's head wip 01


Ivana's head wip 02 (started working on the eyes)


Moka pot lookdev


Moka pot stills


voigtlander bergheil (DoF + 60 UDIM tiles)


All in all it works great! Prepare your RT cores! :D

Lookdev kit - Update 02

General / 21 February 2019

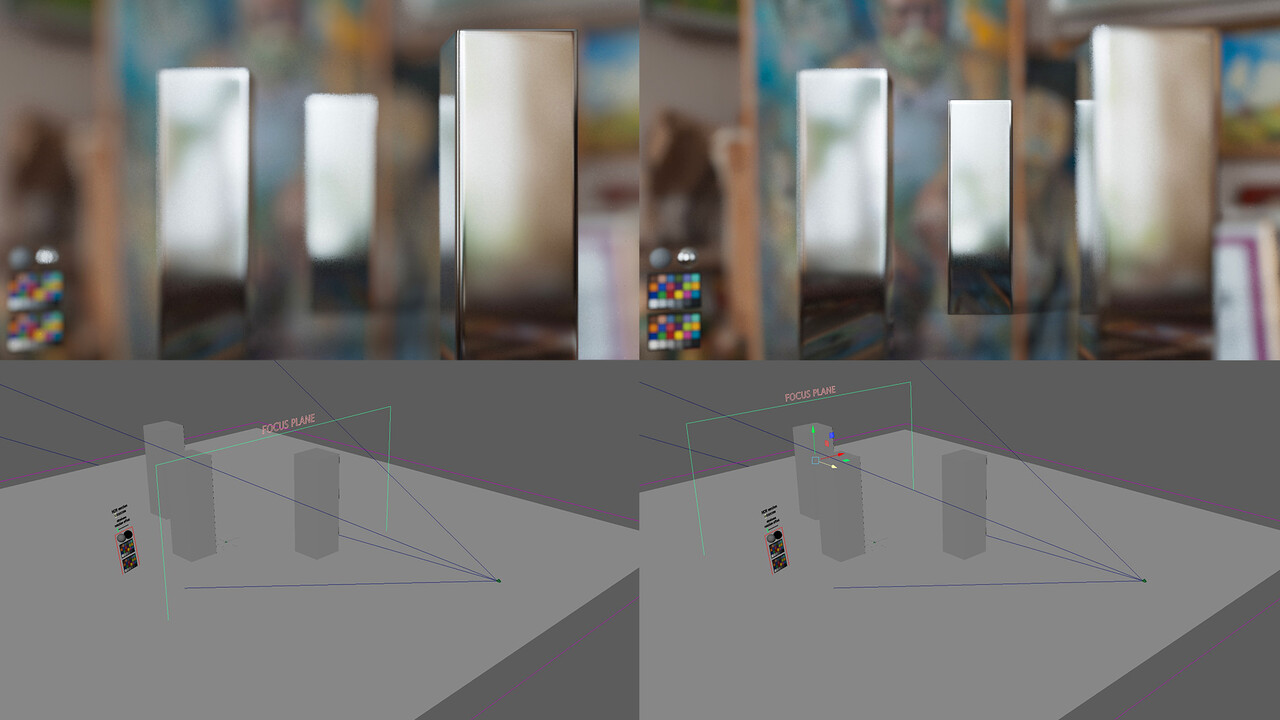
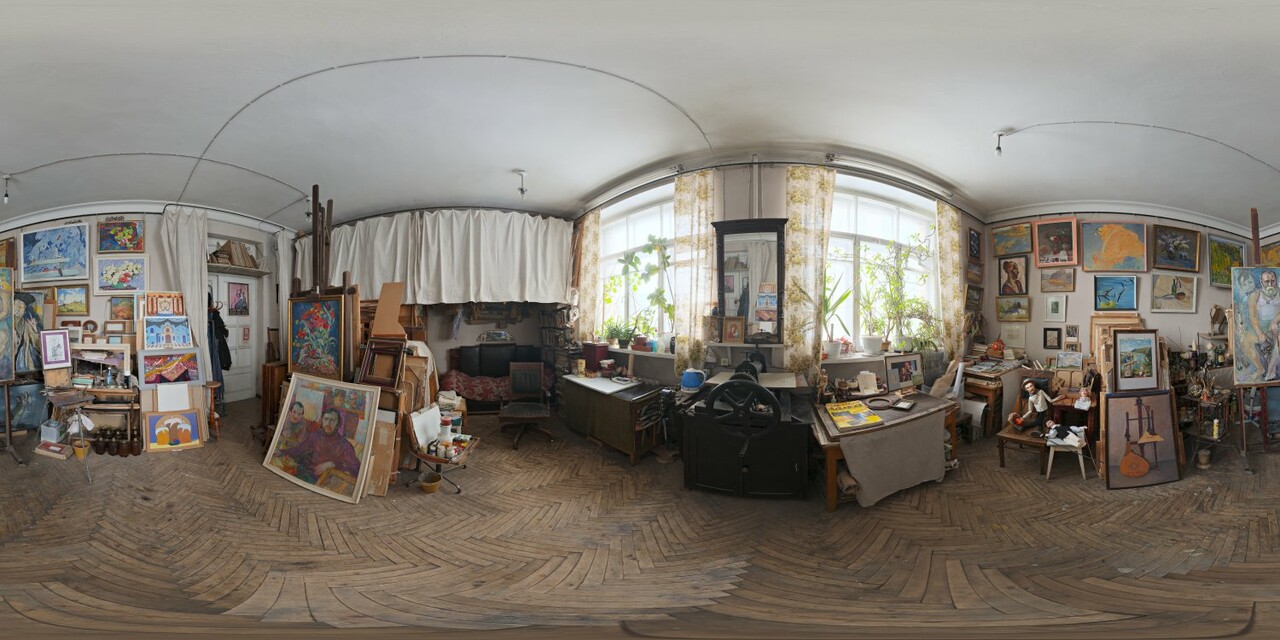
Here is another update to the Lookdev kit. It is a small one, but it fixes the problem with converting environment map to .tx. Also there is a new HDR in the HDR slot 01 and a Focus plane to control focus and depth of field. Here are more details about this update:


DOWNLOAD LINK


RELEASE NOTES:

19.02.2019. Update 02:


- Added Focus Plane to control Arnold Depth of Field Focus Distance (aiFocusDistance)


- Depth of Field control attributes on the Focus plane


- added new HDR on HDR slot 01


- fixed problem with converting environment map to .tx. Thanks to Arnold Dev team! This was a major problem in previous version.


Focus plane for camera focus control


New HDR from hdrihaven.com


DOWNLOAD LINK


Please let me know if you have any issues with this version. 

Also, I am open to suggestions on how to further improve the tool. 

You can find more info about Lookdev kit on the Original blog post or in the readme file inside the downloaded zip.

Lookdev kit - Update 01

General / 04 February 2019

Here is the new update for Lookdev kit. I know it took a while but I was pretty busy. Here are new updates:


DOWNLOAD LINK


RELEASE NOTES:

04.01.2019. Update 01:

- HDR selection slider - SUPER special thanks to Aleksandar Kocic for some coding magic that made the pivot snap to the HDR numbers. 

- removed albedo AOV that was left behind.

- I added some colors to the scene elements.

- scene is a bit more organised.

- loc_object_rotation_01 was left outside of the group because of parent constraint.

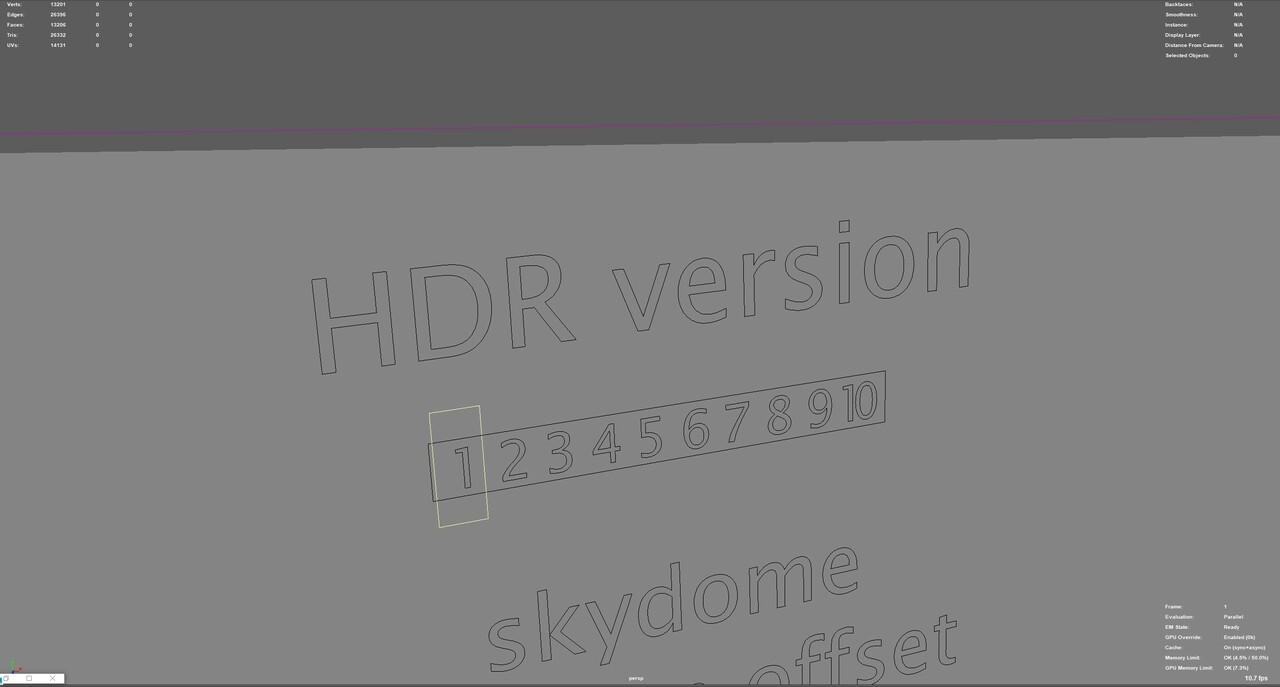
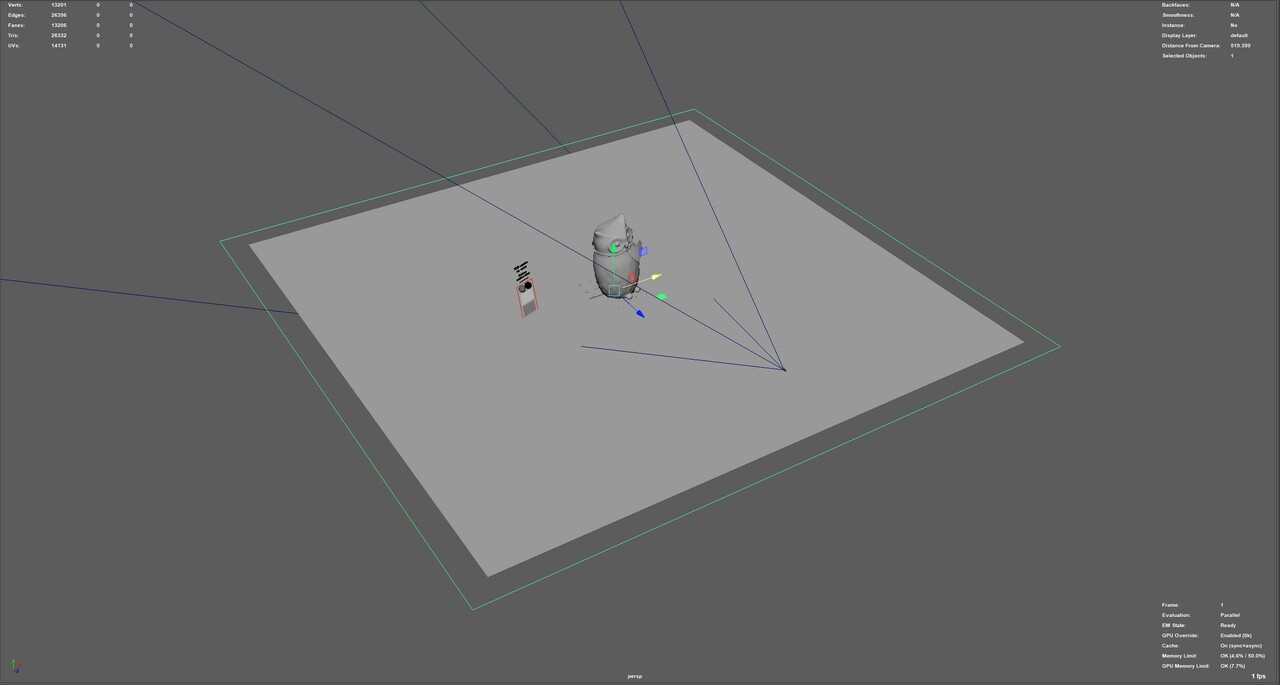
- global transform control for the entire Lookdev scene (move, rotate, scale).


HDR selection:


Global control:


KNOWN ISSUES:

01. HDR version slider knows to be a bit buggy, if the snapping stops, just deselect it and select it again.

02. I had to remove the .tx file and had to load original multi - layered .exr for Skydome. Due to the OIIO update in Arnold I couldn't load multi - layered .tx file. I didn't have any problems because of using .exr, I hope it will work for you. I asked Arnold devs about this and I hope solution is coming in the future.


WARNING: 

Do not create .tx for lookdev_hdri_2k_01.exr, it will probably not work in newer versions of Arnold. 


Please let me know if you have any issues with this version. 

Also, I am open to suggestions on how to further improve the tool. 


DOWNLOAD LINK


Cheers!


You can find more info about Lookdev kit on the Original blog post or in the readme file inside the downloaded zip.


Photogrammetry experiments

Work In Progress / 21 January 2019

This is going to be a long one...

Photogrammetry is my hobby for the last couple of years. My first try was a small wooden Piggy from four or five years ago. That was done with mobile phone (Nexus 4) without any knowledge of proper lighting, manual control of camera, balancing photos, etc. The scanned result was pretty bad, but I learned a lot from it. After that I bought a Canon EOS700D with kit lens and started to learn more about proper way to take photos, how to correct them and how to work on the scanned geometry. Results got a lot better with proper equipment

But this is still the realm of simple shapes and hard surface objects. My goal was to scan a human face. And that is where my lack of knowledge and equipment started to surface even more. I started to experiment with my wife's head (girlfriend back than). First try was pretty unsuccessful - bad mesh full of noise, with textures full of lighting information. 


Than, I went back to googling about what is the best way to take photos for photogrammetry. After that I did two more photo sessions, but this time in the cloudy weather with more diffuse and uniform lighting. Results were better, but still not what I've hoped for. 

Still, not satisfied with the results, I went back to googling how to improve the results, and I figured out that hair was creating a problem in the alignment. So I got a thin cap, I'm guessing it was used for wigs, to hide real hair. Another photo session... At this point she was starting to get annoyed for being my "guinea pig". 

Again, a step in the right direction, better than any version before, but still not good. But I decided to try to "fix it in post". Went to Zbrush, cleaned the model, did a ok retopology, texture transfer, basic shading... Aaaaand... Super uncanny results :D

I figured out that I don't have almost any knowledge in human skin shading. Also, I have a lot of specular in my base color showing in the render... Back to googling... After a while I found out about CPL filters. Bought one, another photo-session with Ivana... At this point I couldn't figure out if she is hating me more because of another photo - session or because she has to wear silly wig cap outside on the street (I didn't have lights so I used overcast sky for lighting)

CPL helped out a lot and I had cleaner photos, also I did solid mesh cleanup in zbrush but...  

Better, but still uncanny... Lack of shading skills did its work. At this moment I wanted to take a break from the project. I had to learn more about scanning process, photo editing, shading, etc, etc... 

Fast forward!

3 years passed since I started the project. In the meantime I got proper lights, new camera (Sony a7mII) and Zeiss lenses, macro tubes, CPLs, Xrite Color Checker, light tent, did a lot of scans and learned a lot. So here is the new setup:

With this I've managed to get pretty solid results

Than it was time to try the human scanning again, this time with better setup and knowledge :D

Notice the guitar stand tied to the back of the chair to serve as head stabilizer :D

I've managed to persuade her to take another photo-session :D Also I had a friend of mine rotate her on the chair. And I finally managed to get proper results. Evenly lit photos and solid alignment. Again, new cleanup, retopo, texture transfer and baking, etc... Image below is cleaned up a bit but totally usable.

Just a uniform spec pass to show skin detail

And with some new knowledge of texture painting, shading, etc... Rendered with Arnold GPU.

It is finally starting to take shape... That's why I am writing this, just to share project that I've been working on (with breaks) since 2015. Also, I never published any scanned assets anywhere (aside of two instagram stories).

This latest iteration is from last couple of months. It still requires a lot of work - missing couple of maps, it is without any hair (still have to learn to create hair), etc... But it has potential to look great at the end. I hope I will manage to publish finished project later this year.

This was a long post, thanks to anyone who managed to get to the end :)
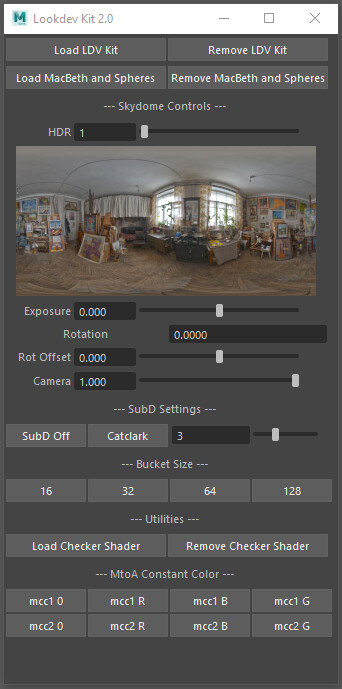
Lookdev Kit

General / 25 August 2018

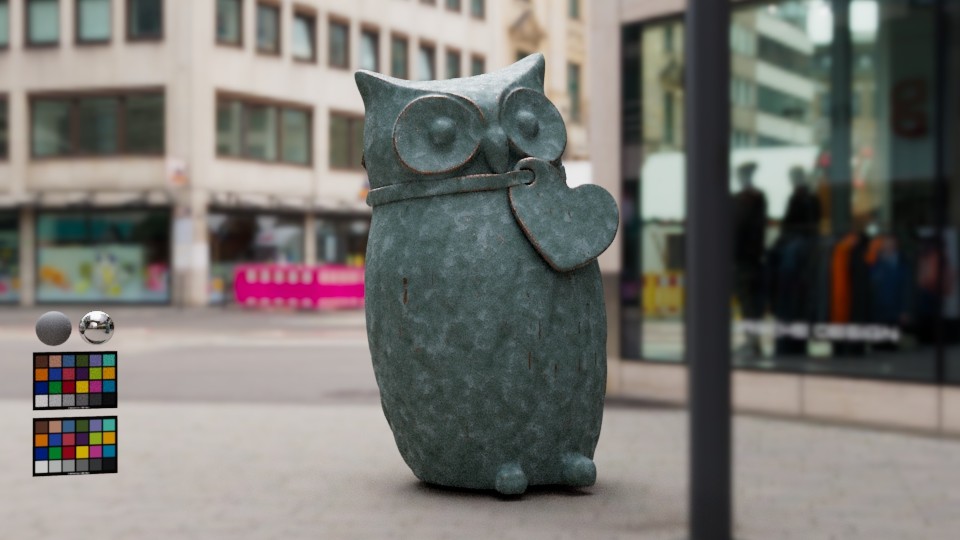
In the last couple of weeks I created one simple scene that can help a lot in lookdev process with Maya and Arnold. 

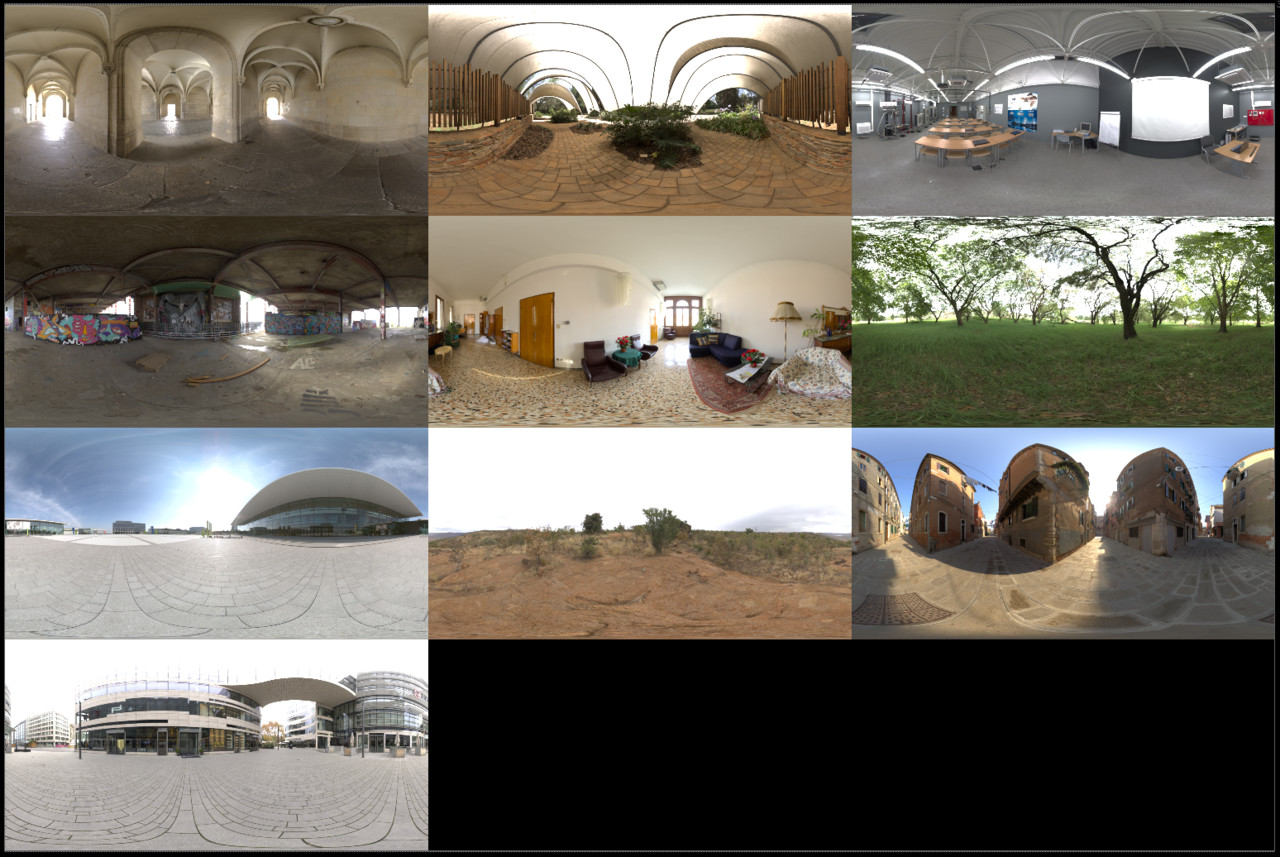
I created one multilayered exr that consists of 10 different HDRs, in other words - one file > multiple different HDRs. This way you can just change one parameter on Skydome light (HDR version attribute) and HDRs instantly change. This saves time when you want to test your shaders in multiple lighting scenarios and you don't have to change HDRs manually by hand. 

One note about HDRs - most of them are from hdrihaven.com and other free sources. 

0 - 4 - interior HDRs

5 - 9 - exterior HDRs

Lookdev kit is made to be used as a Maya reference, so it can easily be removed and keeps the main lookdev scene clean.

You can check out installation process and workflow in the following videos:


Sorry for my bad English, it is my second language and this was the first time I ever recorded an instructional video, I will get better in time. :)

Lookdev kit is still in the development, so if you have some suggestions or anything you can always write a comment or contact me directly by email. 


It is only for Maya and Arnold, if I find time I will maybe create something similar for more render engines. 

First thing that I will do in the future is to correct exposure on some HDRs and do a correct color balance.


You can get the current version HERE

Here is the Artstation artwork link


It is FREE for everyone and always will be.

Make sure to read the readme file in the zip archive.

I wanted to put it on Artstation marketplace or Gumroad but it is not possible to have free product this big, so it ended up on my Google Drive


New website

News / 29 July 2018

Website transfer went smoother than expected. From now on Arstation will host my website and the old one is deleted. 

I went with similar design and theme like on the old website, it still requires small tweaks here and there but content and main things are finished.

The only thing that is still not available on the new website is the Photography section, but that will come in the next few weeks.


You can check out new website here.

I'm pretty pleased with Artstation web editor, it is really simple to use and if you need additional control, you can always type some custom CSS and make changes.

Cheers!

Sharpener and V-Ray 3.6 review

Article / 27 July 2018

*original post was published 13th February 2018.


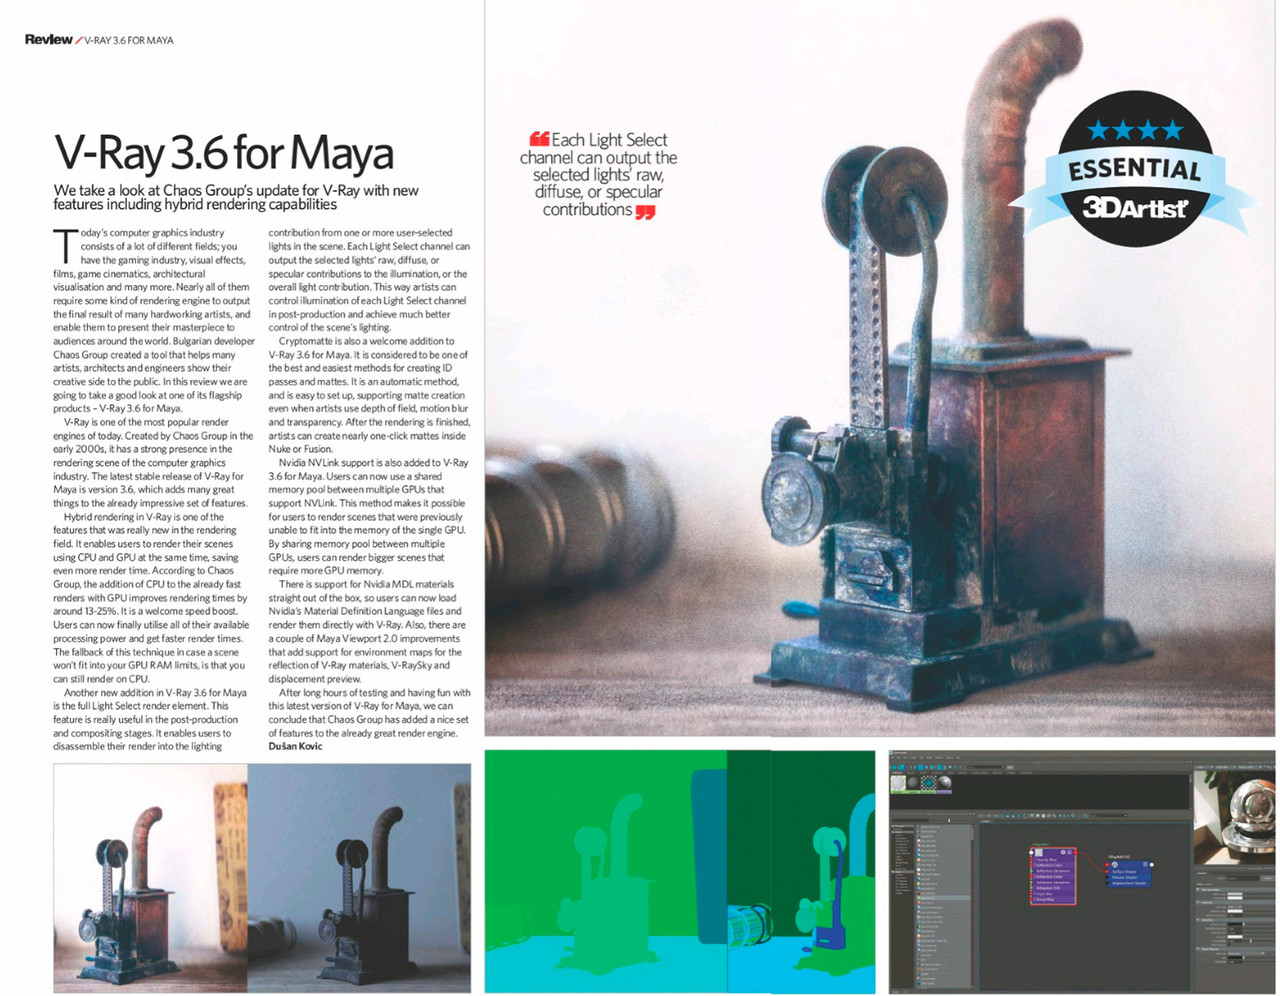
I'm writing articles for a 3D Artist Magazine for a while now. Usually, I was working with Solidangle Arnold as my main render engine (it still is), but on this occasion I got an opportunity to play with a Vray 3.6 for Maya. 3D Artist Magazine and Chaos Group were kind enough to provide a licence for the latest V-Ray release. So, here is the screenshot of the article:


You can also find artwork "Shaprener" in my portfolio.

CGA - Skin Shading with Arnold 5 Workshop

General / 27 July 2018

*original post was published 26th November 2017.


During the November of 2017. I had an opportunity to do something I haven't done yet - to share my knowledge at the CGA conference as an Arnold Workshop Tutor.  I decided to go with a basics of skin shading in Arnold 5, as the new SSS in Arnold 5 was a bit mysterious for a lot of people. As a model I used scanned head of Emily O'Brien, also known as Digital Emily from Wikihuman project. The Workshop and the entire CGA conference were great, I had fun with a lot of friends that I haven't saw for a while and also met a lot of new people interested in the computer graphics. Here are some shots from the workshop:


Philosophy of Photography

General / 27 July 2018

*original post was published 25th October 2017.


Couple of years ago Sam Burford from Chelsea College of Arts contacted me and asked if he can use Coffee Table for his academic journal. I said yes, and eventually forgot about it. Few days ago I received a package containing a copy of Philosophy of Photography, featuring images of Coffee Table. Thanks to Sam Burford for this amazing surprise! Here are some images of this great academic journal:


Morning Delight - breakdown

Making Of / 27 July 2018

*original post was published 21st August 2017.


Intro

As I mentioned in the original project page this project had some limitations in terms of techniques that I can use. I couldn't use subD, hair, curves rendering, displacement, SSS, particles and I had a limit of 1 million polygons. So, here is a breakdown of the Morning Delight.


Task

Main idea behind the project was to create a photo-realistic render from assets which can later be imported into Unity game engine and rendered with Rove. Chris Morris, creator of Rove, provided me with some reference images and his ideas for the final render. When I saw them, I knew  we were on the same page about the look and the mood of the final artwork. From the start of the project I was hyped about it, and I really wanted to give my best, considering the before-mentioned limitations.


Subject

Because of my obsession with vintage cameras I chose Voigtlander Bergheil 10x15cm as my main subject.  Modeling process was different than my usual workflow. I couldn't use render time subDs so the raw geometry had to look good. In the end camera model turned out great.


I wanted to create really detailed looking model with high resolution textures. At the time, I still didn't have defined composition for the artwork so I organized UVs so I can render the lens on the closeup shot. The UV tile count went up pretty quickly - 60 udim tiles at 4k resolution.


For the texture painting I went with The Foundry Mari, as it is the most powerful texturing tool out there. Also for this project I ditched the layers and went with full node based texturing. Strange at the beginning, but when I got used to it, it was really powerful. I'll never go back to layers. Main thing is to stay really organized, which I failed a little bit here, but I learned a lot. The best thing about the node workflow is that you can create your own gizmos and speed up everything. Really helpful asset during this phase was Mari Extension Pack by Jens Kafitz. Radio Nodes are a must for node based workflow. Those were really a time saver. On other assets I switched to Extension Pack Material Regions which made the organisation of the node graph really easy. Here is the camera node graph:


And some texture previews:


Also full resolution video turntables:


Other assets

Other assets received similar treatment as the hero asset, just on a little smaller scale. Here are more turntables:


Also I used a bit of photogrammetry for the table cloth, just for the experiment. I wanted to see if Photoscan can pick up all of the small details of the cloth.


Well, it didn't, so I had to cleanup the mesh and sculpt the new details in Zbrush


Rendering and post production

As always, I went with Solidangle Arnold for rendering. Version 5 brought revamped shaders, new utility nodes and more useful stuff (most of it from alShaders). Everything is faster and works great, I just didn't like new SSS parameters, they are not that intuitive, alShaders had much better SSS. In this project I couldn't use SSS, I just had to mention it. Also, Psyop Cryptomatte is integrated into Arnold and it is really great. One click IDs with literally no setup. Here are some AOVs:


Post production was done in Nuke. I decided to move away from After Effects for these purposes, it is slow and sluggish compared to Nuke. Some Nuke script screenshots:


And that's about it. I had a great time while working on the project and I'm pleased with the final render.